Call us now
- Mon - Sat 7:00 - 16:30, Sunday - CLOSED
- sales@ezshowerrepairandtiling.com
-
-
Service Area
Brisbane / Gold Coast / Sunshine Coast/ Toowoomba
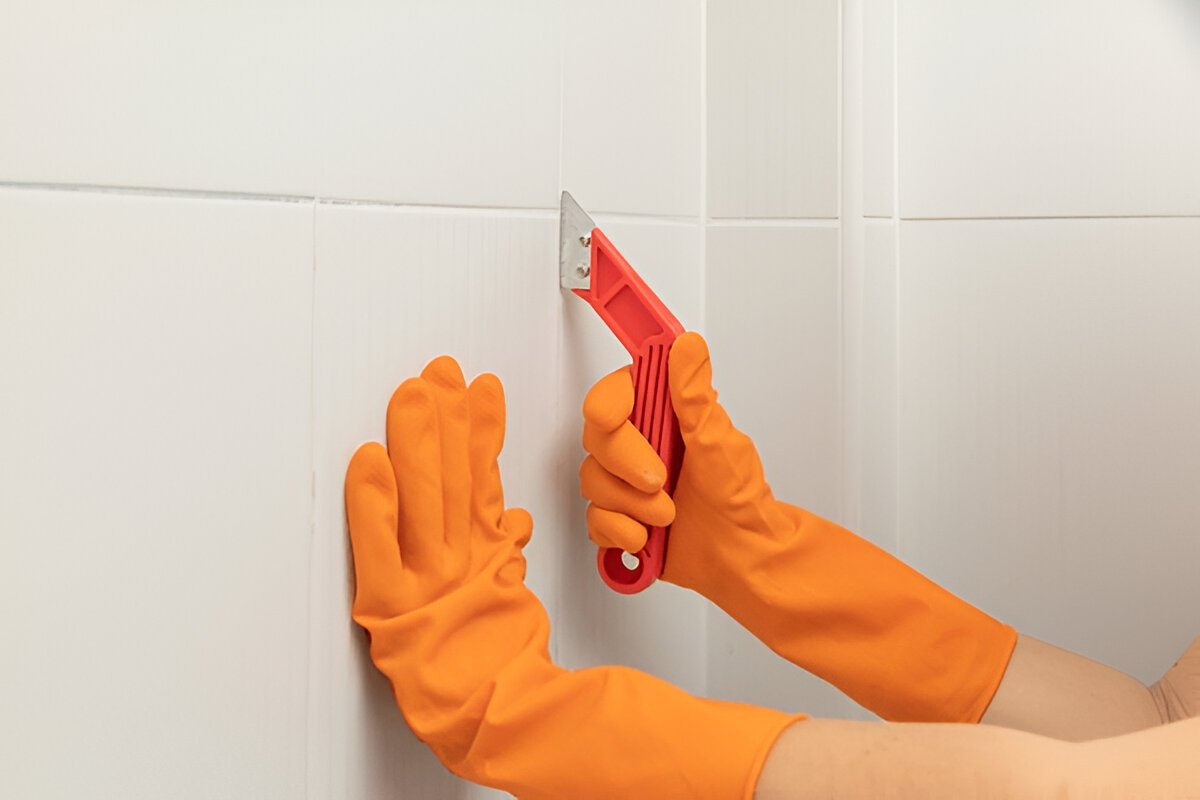
How to Regrout a Shower Like a Pro
How to Regrout a Shower Like a Pro Is your shower looking worn, stained, or, worse, water-damaged? Don’t get into a costly remodel just yet. Often, the culprit is simply old, worn-out grout. We at EZ Shower Repair and Tiling Australia know the significance of a tidy shower. It not only adds to the aesthetics of your bathroom but also guards against water damage, which can lead to expensive replacements. As you read on, we will lead you through each step of how to regrout a shower like a professional. What Factors Make Tile Regrouting Necessary? It makes your tiles last longer. Regrouting improves the appearance of your bathroom. It prevents water-related damage and the growth of mould. The level of cleanliness and hygiene can be improved by regrouting. Saves money on costly tile replacements Understanding When Your Shower Requires Regrouting Grout creates a water-resistant seal that prevents moisture from leaking behind tiles and damaging the structural framework. This seal will eventually wear away, especially in Australian weather. The following are clear signals that your shower requires regrouting: Crumbling or broken grout between tiles Discoloration that persists Visible moulds or mildews Water leaks behind tiles or adjacent walls Loose tiles that slide when pushed Flaking or powdery grout surface Tools and Materials for Shower Regrouting If you want to proceed with “how to regrout shower tiles,” you will need the right tools and materials. Tools Grout removal tool (utility knife, electric grout removal tool, or hand grout saw) Rubber grout float Grout sponge and microfiber cloths Mixing bucket (for powdered grout) and stirring tool Measuring cup Safety gear (rubber gloves, glasses, and dust mask) Materials New grout (sanded cementitious grout for larger joints, typically 3 mm or more; unsanded cementitious grout for narrow grout lines, less than 3 mm; and epoxy grout for showers, resistant to mould, mildew, and stains) Grout sealer Painter’s tape A plastic sheet or drop cloths Clean water How Do You Regrout a Shower in 7 Steps? In this section, you will be guided step-by-step on how to regrout a shower to get professional results. 1: Preparation Take away all shower accessories, bottles, and curtains/doors if possible Cover showerheads, taps, and drains with tape or plastic to avoid damage Protect the shower floor using drop cloths, particularly if it is porcelain or some other material that might scratch easily Open windows or use fans to provide sufficient airflow during the process In Australia’s climate, moderate humidity should be 40-60% for best grout curing 2: Remove the Old Grout Position your grout remover at a 45-degree angle to the grout line Proceed systematically along each line, with consistent pressure Strip at least 2-3mm thickness of aged grout to offer adequate adhesion for the new application Give special attention to areas with noticeable damage or mould growth Vacuum clutter frequently to keep your work area visible 3: Clean the Grout Lines Vacuum out all remaining debris from the grout lines Wipe down the area with a moist sponge to remove dust If mould is present, apply an appropriate mould killer Clean tiny spaces with a little brush Clean the tiles with warm water and mild detergent before you re grout shower tiles Scrape the grout lines with an old toothbrush or a stiff brush Use clean water to rinse the tiles and remove any soap residue Leave the area to completely dry (24 hours is recommended) before adding new grout 4: Mix and Apply New Grout Always mix grout strictly according to the directions provided by the manufacturer Mix in small batches to prevent premature hardening Reach a peanut butter consistency—not too wet, not too hard Let the combined grout stand for 5-10 minutes (slaking) before the final stir Spread grout to a section that you can control (around 1 square metre) Place your rubber float at a 45-degree angle and use it to force grout firmly into joints Move diagonally across the tile joints to get complete filling Remove any excess grout from the tile surfaces as you work 5: Clean Excess Grout and Allow it to Dry Use a moist sponge in gentle circular motions to remove excess grout within 15-30 minutes (when it begins to set but does not harden) Wring and rinse your sponge regularly to prevent grout residue from spreading Be careful not to remove grout from between the joints After the first clean, use a microfiber to remove any remaining dust Allow the fresh grout to dry as directed on the container (usually 24-72 hours) 6: Seal the Grout Make sure grout is fully dry and cured Use a tiny brush, applicator, or spray to apply grout sealer Work carefully to cover all grout lines evenly Remove any extra sealer from tiles after 5-10 minutes Use a second coat if advised by the product instructions Wait for the sealer to completely dry (typically 24 to 48 hours) before taking a shower 7: Apply Silicone Caulk to Corners and Edges Apply painter’s tape to corners and edges on both sides Fill a caulking gun with the appropriate silicone caulk (a mould-resistant kind is recommended) Apply in a continuous, smooth bead Use a caulking tool or damp finger to smooth the bead right away Remove painter’s tape while the caulk is still wet Let the caulk completely cure before using it in the shower Common Regrouting Mistakes Use these recommendations to achieve professional shower regrouting results: Mistake Why It is a Problem How to Avoid it Not removing the old grout New grout won’t bond properly Remove at least 3–5mm of the old grout Using the wrong grout type for the tiles May lead to cracks and leaks Use waterproof, mould-resistant grout Skipping the application of grout sealer Grout absorbs moisture and stains Always seal after curing Completing the procedure in a hurry Poor finish and weak joints Allow sufficient drying and curing time Not fixing the damaged tiles Water can penetrate through tiles Repair or replace before regrouting The Benefits of Using