Call us now
- Mon - Sat 7:00 - 16:30, Sunday - CLOSED
- sales@ezshowerrepairandtiling.com
-
-
Service Area
Gold Coast/ Brisbane/ Brisbane South
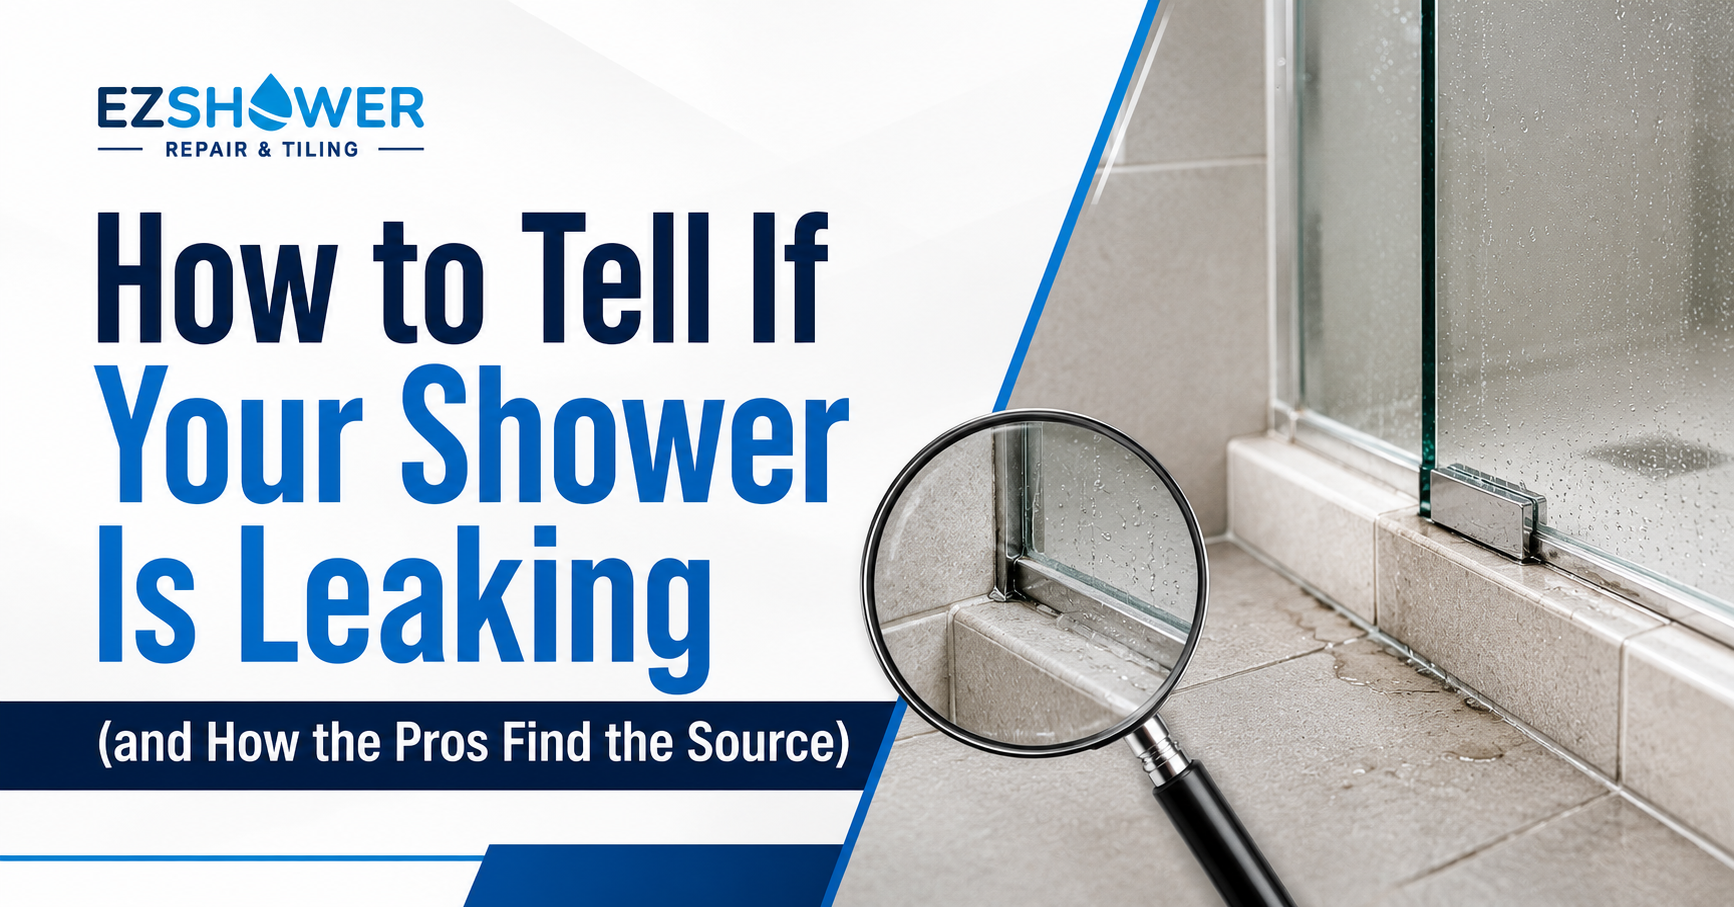
How to Tell If Your Shower Is Leaking (and How the Pros Find the Source)
A shower leak rarely announces itself. By the time you notice a stain on the ceiling below or a smell that won’t shift, water has often been quietly tracking into your walls and floor for weeks. The good news: shower leaks leave clues, and catching them early is the difference between a few hundred dollars and a major repair. Here’s how to tell if your shower is leaking, how to narrow down where it’s coming from, and how professional leak detection pinpoints the source without tearing your bathroom apart. The warning signs your shower is leaking Most shower leaks reveal themselves in small ways long before they become a crisis. Watch for these: A musty smell that won’t go away. Trapped moisture behind tiles or under the floor breeds mould and mildew, and that damp, earthy odour is often the very first sign — even before you see anything. Recurring mould or black spots. If mould keeps returning to the same grout lines or corners no matter how often you clean, it usually means moisture is sitting where it shouldn’t. Cracked, crumbling or missing grout. Grout is part of your waterproofing. When it cracks or powders away, water gets straight past it into the substrate behind the tiles. Stains on the ceiling or walls below or beside the shower. Water marks that look darker, or that grow larger after you shower, are a classic giveaway — especially on a ceiling directly under an upstairs bathroom. Bubbling or peeling paint on adjacent walls or the ceiling below, caused by moisture pushing through from behind. Loose or “drummy” tiles. Tap the tiles — if they sound hollow rather than solid, water may have already broken the bond underneath. An unexplained jump in your water bill. A hidden leak can quietly waste water and money before you ever spot a stain. If any of these sound familiar, it’s worth acting sooner rather than later. Damp and mould aren’t only a building problem — they can affect your health too, as healthdirect explains. And persistent mould is often a symptom of a leak rather than a cleaning problem, which is why our calcium build-up and mould removal work always starts by checking what’s driving it. Why early detection matters in Brisbane Brisbane’s climate is genuinely tough on showers. High humidity, heavy summer storm downpours, and the constant expansion and contraction of homes built on reactive clay soils all put stress on grout and silicone — so they tend to fail faster here than in milder parts of the country. On top of that, many local homes are timber-framed, including the classic Queenslander, and timber is exactly what you don’t want a hidden leak soaking into. A small grout crack left alone today can become rotted framing and a five-figure repair later. Detecting and fixing a leak early is the cheapest move you’ll ever make on your bathroom. How to find where a shower leak is coming from Once you suspect a leak, a few simple checks can help you narrow down the source before you call anyone: Inspect the grout and silicone. Look closely along the floor-to-wall junction, the internal corners, and around the shower screen. Cracked grout and perished, peeling or blackened silicone are the most common entry points. Check the shower screen and door seals. Water escaping at the bottom of the screen or through gaps in the seals can mimic a “leak” that’s actually a sealing issue. Look at the waste and drain. Pooling water or discolouration around the floor waste can point to a problem at the drain connection or the fall of the floor. Examine the room below and behind. Stains, soft plasterboard, or a musty cupboard backing onto the shower wall all help pinpoint which side the water is escaping. These checks tell you a lot, but they have limits — a leak can show up a long way from where the water is actually getting in, because it travels along framing and falls before it surfaces. That’s where professional detection earns its keep. How the professionals detect a shower leak This is the part that saves you from guesswork and unnecessary demolition. At EZ Shower Repair and Tiling, leak detection starts with non-invasive thermal imaging. A thermal camera reads subtle temperature differences across the tiled surface — and because damp areas hold and release heat differently from dry ones, hidden moisture shows up as a cool signature the naked eye can’t see. It maps where water is actually sitting, without lifting a single tile or opening up a wall. That matters for two reasons. First, it’s accurate: instead of ripping things out to “have a look,” we confirm the source before any work begins. Second, it’s clean and fast — a standard inspection and repair runs about 2 to 4 hours, with no destructive exploratory mess. As an ISO-accredited service, the diagnosis is done to a consistent, documented standard, so you’re not relying on a hunch. What happens after the leak is found Pinpointing the leak is only half the job — the fix has to restore the waterproof barrier properly. The process typically runs: Degrout — the failed grout is removed wall-to-wall with a precision grout saw, down to the correct depth. Membrane repair — where needed, a liquid membrane is injected beneath the floor tiles to restore the waterproofing layer that’s been compromised. Epoxy regrout — new waterproof epoxy grout is applied, with extra attention to the high-risk perimeter joints and the wall-to-floor junctions where leaks usually start. (More on this in our regrouting and tile repairs service.) Reseal — an impenetrable tile sealer is applied to the shower walls to lock everything in. This restores the waterproofing that Australian Standard AS 3740 Waterproofing of domestic wet areas sets out for residential bathrooms — usually with the tiles left exactly where they are. In the minority of cases where tiles are badly cracked or the membrane has failed beyond repair, a full strip-out and